

It’s been a long two weeks for me, and I do apologize for the late articles! I got sick the week before Christmas, then Christmas, and a lot of work to get done. But we’re back and ready to go over more Age of Sigmar tactics and strategies.
As promised, this article will go over summoning and the iconic terrain piece of the new Warhammer game, the Realmgate. Once your done reading this article, be sure to head over to the Tactics Corner for more great articles of your favorite games and armies!
Summoning
Whether they come from the realm of Heaven, Chaos, Shyish, or ancient memories that predate the End Times, entire armies can be brought to battle with a few gestures and a quick words woven with magic, and sometimes just a prayer to the gods. Summoning is primarily used as a way to recoup the forces that you lost in the battle to keep up the pressure. Some armies rely on it more than others, flooding the board and whittling down your enemy enough to make them easier pickings. However, summoning has it’s weaknesses as well. In a previous article, I pointed out that summoning units have a limited space to bring their chosen units to the table, making it relatively easy to counter if you have Flanking units to limit that space. Summoners are also almost always single model warscrolls with the Hero keyword, making them vulnerable to ranged attacks or special abilities that target Heroes, Wizards, Monsters, or Priests. Summoned units also usually cannot move the turn they arrive, often making charging that turn difficult and allowing your opponent to maneuver around them. Units that are summoned have a maximum number of models that arrive, and often a larger number if the summoner’s casting roll was exceptional. Regardless, very rarely will you see the 100 model doom unit that some people are terrified of. Finally, you can only summoning models that you actually have the models for. Most games, players place their entire armies on the table. Because there are no models in reserve, there’s nothing they can summon. That takes a lot of the pressure off of the player that can’t summon. Finally, anything that was summoned does not count as surviving at the end of the game. So for scenarios where occupying a piece of terrain or keeping track of how many models were lost determines the result, your summoned units do not count.
Everyone but me, CHARGE!!!
Summoned units are best used as fodder, throwing them aggressively at the enemy to slow them down and do some damage. Fragile Strikers are best used this way, and once they die, resummon them and get ready to attack again. To prevent you from running out of steam, either have a lot of Wizards to summon units that die quickly, or have a balance of durable and heavy-hitting, to keep your forces up consistently. If you lose too many units too quickly, you can’t replenish them fast enough to be effective. But if they are too durable, then you are not making the most of your summoning potential. In which case, start lobbing Arcane Missiles at the enemy in between summoning, and try to keep your Wizards safe. Most summon spells allow you to place “up to X models” into play, meaning that you can bring in less. Only had 4 Bloodletters die last turn? Go ahead and summon them to the field; they’re not helping you by being dead. Also keep track of how difficult it is to actually summon a particular unit. Units like Plaguebearers and Skeletons are very easy to cast, requiring a 6 or less usually, with the potential of larger units on a high roll. But more powerful models like Greater Daemons, Zombie Dragons, or Carnasaurs usually require around a 10 to summon, which is a ⅙ chance of being successful, so take that into consideration on what your game plan is (basically, don’t rely on it too much). Also, remember that you can’t cast the same spell multiple times. If one Wizard fails to summon a Greater Daemon of Slaanesh, then you need another Wizard to attempt it again.
Let’s go over a brief review of each Faction/Grand Alliance and how effective summoning is for them, which I will cover more in depth when we cover their battletomes in the future.
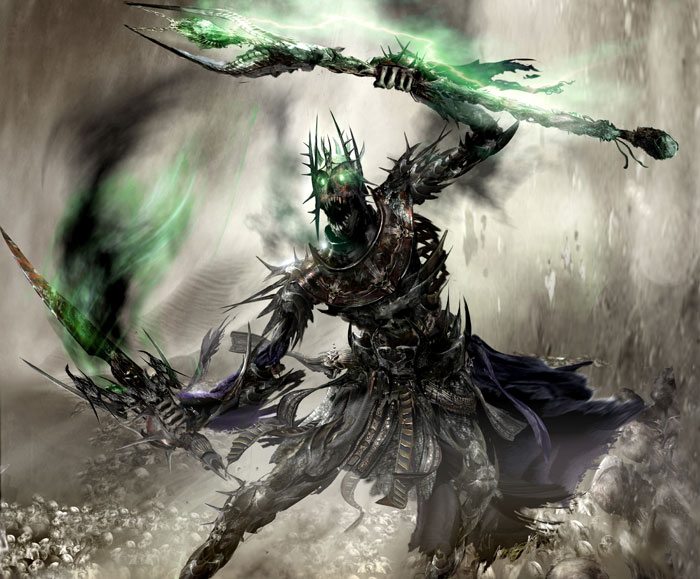
Undead Summoning
The grand alliance of Undead are the forces that rely the most on summoning. Most of their warscrolls consist of fragile skeletons and zombies, with only one large creature (the zombie dragon), and 2 “elite” units (the morghasts). Their “durability” comes from their ability to recoup their losses, either through banners or by summoning entire legions of them. Low armor saves for most models means that they will die in droves, so have plenty of Wizards around to keep them up. Summoning is what makes Nagash so dangerous, and not his other spells. He can cast up to 8 different spells, has a bonus to casting rolls to increase your odds of getting large units onto the table, and doubles the number of Death models placed on the table (if they are single models, then you set up 2 units). There’s a reason why he dethroned the other gods of death. So flood the field with shambling corpses and bury your foes in an unending tide of rotting bones and flesh, and bring them back once destroyed.
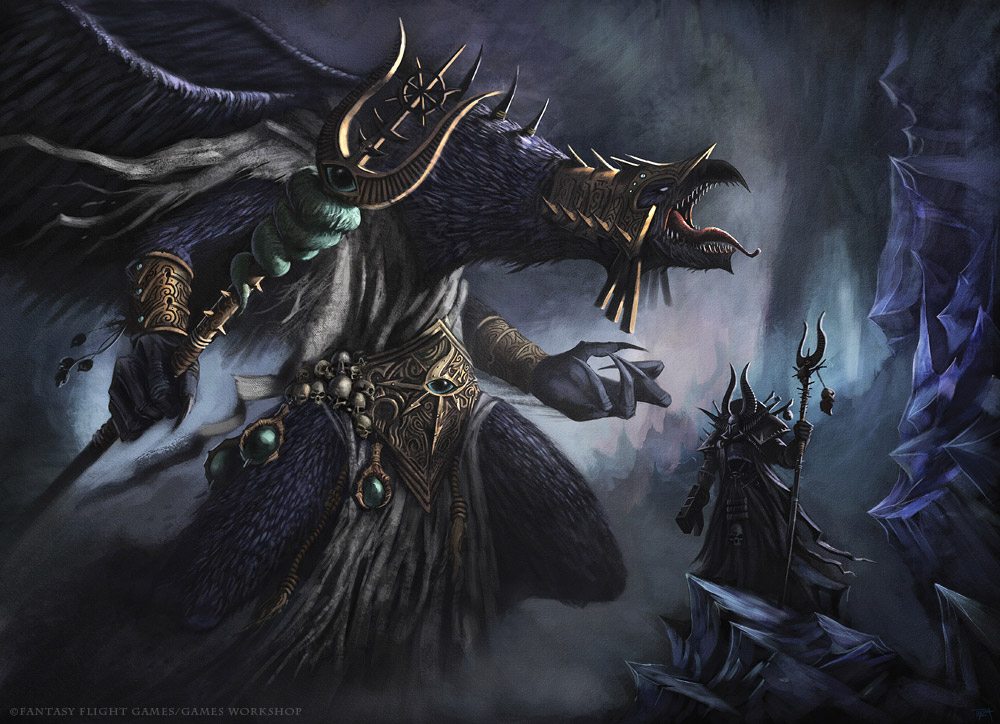
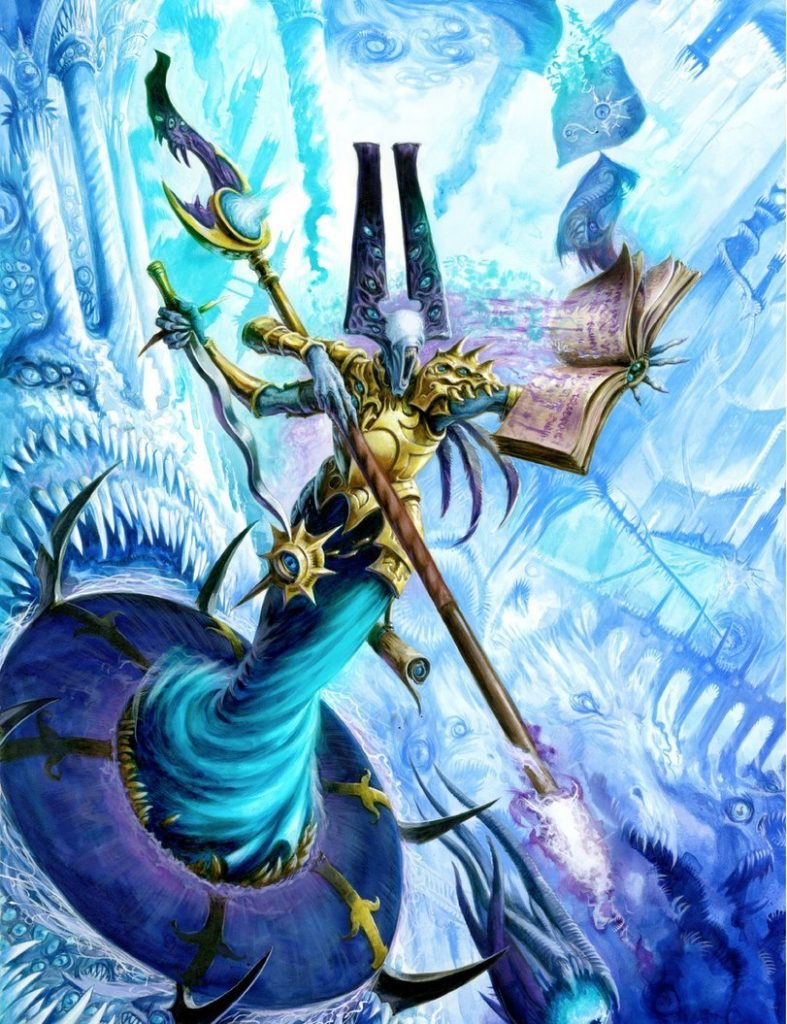
Chaos Summoning
Chaos Wizards have an enormous variety of units they can summon. From Bloodletters and Plaguebearers, to the Greater Daemons and Soul Grinders, they have a nice toolbox of units to counter your opponents. Even the MacDaddy himself, Archaon, can summon some Daemons to his side, as if he wasn’t terrifying enough on his own! But Lords of Change and Kairos Fateweaver are your most reliable casters. Kairos is especially good since your casting result is actually your highest die rolled times 2, making him your best choice to summon Greater Daemons with. However, because all of their units are usually better than Undead in general, their casting values are higher across the board. Still, they are some of the most common summoning armies to face against because they are used in both Age of Sigmar and Warhammer 40000.
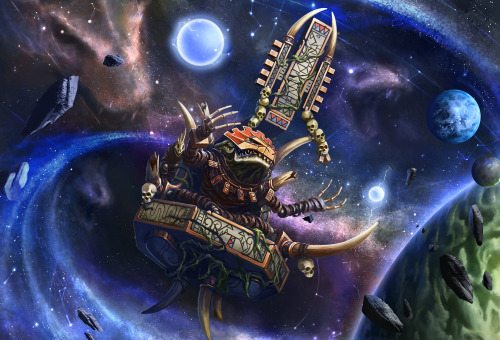
Seraphon Summoning
I was confused for a while on why Seraphon models had the Daemon keyword for a long time until their Battletome came out, and it now all makes sense and is actually pretty cool! The Slann were the only ones that made it out alive during the End Times, and drifted in space, plotting to take the fight to Chaos once more. Because of their mastery with the constellations and magic, along with their ancient wisdom, they are able to remember every warrior that served them or alongside them. Every name, every rank, every skill, etc. From their memories, they reach into the very stuff that Chaos is comprised of, and form those ancient warriors back to life to serve once again. Hence why the Slann Mage-Priests are the only models without the Daemon keyword. Seraphon are unique in that they can summon models up to 15” away instead of the usual 9”, and can even use Skink Heroes or Troglodons as the “source” of the spell (like Channeling in Warmahordes). This gives them tremendous range, along with being able to cast 3 spells a turn, and one of the Ascendant Constellations add 1 to their casting rolls, allowing them to replenish their forces quickly if needed. The summoned units still have to be 9” away from enemy units, so keep that in mind. Regardless, the fact that everything except the Slann Mage-Priests themselves are summonable is what gives them strength, that killing those models is a minor setback.
Reinforcements
Outside of Wizards casting summon spells, there are other ways to reinforce your army. Generals of Order and Destruction can bring Stormcast Eternals to the fight by using the Overthrow the Tyrants Time of War rule. Khorne (or really, any Chaos) generals can use the Legions of Chaos Time of War rule (it’s on the same section of the Storm of Sigmar Time of War rules if you’re interested), rolling on a table for summoning if you want to avoid filthy magic. Chaos Lords can use their Command Ability to bring more Slaves to Darkness models onto the field. Some battalion warscrolls, like the Wardens of the Realmgate, come with rules that allow you to summon using models that normally would not be able to do so. All armies have options available to allow them to keep fighting if needed.
Baleful Realmgates
Covering this piece of terrain was not going to be long enough to warrant it’s own article, so I thought it would be a good fit as it also ties with summoning to a certain degree. So iconic, powerful, and important this model is to the setting, that there are actually battalion warscrolls that include them as a requirement. Baleful Realmgates allow armies that rely on melee to stand a chance against backfield archers, cannons, and Heroes. In some cases, they can be used for summoning as well! But that depends on battalion warscrolls or battleplans (like the Wardens of the Realmgate mentioned earlier, or the new Gaunt Summoner from Everchosen). Regardless, this singular piece of terrain can give your army the mobility that it desperately needs to reach an objective in time or to outflank your opponents.
The first rule it has is Magical Energies, which requires you to roll 2 dice each turn in the Hero Phase. As long as they’re not the same, they have the two properties rolled from the Scenery table in the basic rules. This allows for getting multiple buffs in a single turn just by being close, such as +1 to casting (for, perhaps, summoning) or having the unit next to it subtract 1 from the bravery of enemy units for a turn when in melee. However, there’s the risk that on doubles, it explodes and deals D3 mortal wounds to anyone close to it. It’s a high risk, high reward rule that can boost your army if needed, especially when playing on the defense as you will most likely not move much after deployment.
The second rule is where the Baleful Realmgate shines. Hazardous Journey allows you to pick one unit each turn within 6” of it to travel through it instead of moving normally. If you do, place them within 6” of another realmgate or any edge of the battlefield. ANY table edge. Let that sink in for a second: your most dangerous Stikers or Heroes can teleport anywhere on the table as long as they are within 6” of the edge. Now, it’s not clear whether or not you can place them within 3” of an enemy unit (we have ruled at our store that you must place them 3” away). Regardless, as long as you don’t roll double 1’s for most units, you’re in assault. That will force your opponent to really be careful with where they place their valuable Heroes and ranged units, or get wrecked if they ignore it.
That being said, you have to roll a die for each model that travels through the gate. On a 1, they are lost in the void forever. The void don’t care how many wounds they have. Rolled a 1 for a Greater Daemon to travel through? Tough. However, that’s where it’s third and final rule comes in, Commanding the Gate. If you have a Priest or Wizard within 6” of the Realmgate, you can reroll those 1’s, and only if another 1 is rolled will they disappear. So you have ways to make it less risky to use.
As far as using the Baleful Realmgate, if playing on the defensive, try to take advantage of the buffs that it will give each turn, and use it’s Hazardous Journey to place Strikers, Flanking, and Tech units near your opponent’s precious models. But be aware that splitting your forces as such can result in losing that unit very quickly from being surrounded, so make sure the losses are worth the risk. If you are on the offensive, then abuse the gate to put heavy pressure on your opponent and getting closer to your objectives faster if there’s a time limit. Aim for their most vulnerable units that rely on you staying far away from them, or throw a Tank through it to tie up a Striker from moving up the board.
Thank you for reading this article, and I hope you enjoyed it!. As stated earlier, be sure to check out the Tactics Corner for more articles like this one!
Next Time on Anvil of War: Battleplans