

Hey everyone, Scuba Steve here to discuss the Living Tomb Formation. How can you use it? What is it for? Does it bring out the blood lust in your eyes? All will be revealed, so don’t worry! As always, for more tactics articles, check out the Tactics Corner!
Having the Tomb of My Life
Whenever I’m searching the internet for 40k info, especially tactics, I always gravitate towards the articles that tell me what I want to know, in the simplest way possible. So, I am going to assume that everyone reading this article wants that exact same thing. I am going to break down what the Living Tomb does, what it is used for, and what the best ways of using it are. Buckle up, because you’re about to get a crash course in Necron Tactics.
So, what do you need to field Living Tomb? Here is a breakdown of the formation slots:
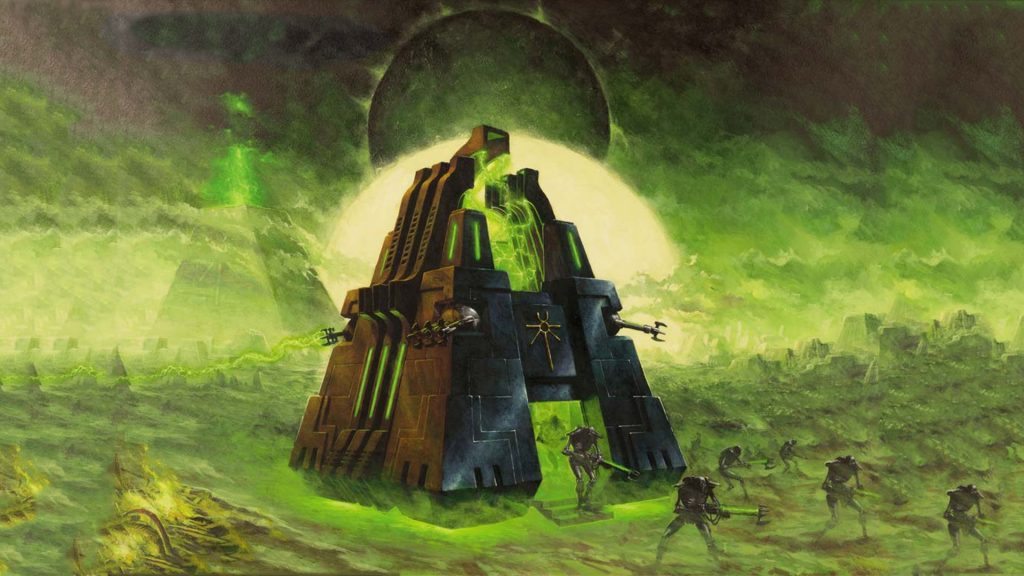
- 1 Obelisk (Necron Super-heavy Vehicle, floating beehive of death)
- 0-2 Monoliths (Slightly smaller floating beehives of death)
Here’s the sweet thing, ladies and gents, the formation has NO RESTRICTIONS! (One of the greatest phrases in all of the grim dark) These models have some fantastic special rules and awesome wargear that you should really be aware of:
The Obelisk:
- Four Tesla Spheres
- Deep Strike
- Living Metal
- Gravity Pulse
- Sleeping Sentry
The Monolith:
- Four Gauss Flux Arcs
- Particle Whip
- Eternity Gate
- Deep Strike
- Living Metal
Formation Special Rules:
- Precision Arrival
- Tomb Nexus
Because this article is meant to focus on the Living Tomb formation specifically, I am going to focus primarily on the Formation Special Rules and how to use them effectively. I highly suggest, that if you’re going to be using this formation, in any way, you check out Tactics Corner and read the Monolith and Obelisk Reviews to get a leg up on the units themselves. I hope you’ve remained firmly “buckled-up”, because here we go!
To Tomb, or Not To Tomb, That is the Question…
Okay, there are two reasons to take the Living Tomb: you want to include an Obelisk inside the Necron Decurion Detachment (in which case you likely won’t be taking the optional monoliths) OR you actually want to use the formation’s special rules to taxi your robotic hordes from reserve, to directly up your opponent’s nose. Both reasons are entirely valid and I endorse whichever way you choose to run it. There are two formation special rules and both of them really dictate how you are supposed to play this formation:
- Precision Arrival: This rule dictates that you must put all units from this formation in Deep Strike Reserve. I know what you’re all thinking… “What if I don’t pass my reserve rolls?!”… don’t worry, there is a plan. You don’t need to roll a reserve roll for the Obelisk, it automatically comes in on its controlling player’s second turn; this is awesome because it protects the Obelisk against alpha strike armies (Drop Pods) and lets you place it, where you need it, at the top of turn two – super helpful. Additionally, each Monolith doesn’t scatter when arriving from Deep Strike if it is placed within 12” of the Obelisk. This is incredibly important because the Monoliths have a seriously fat ass and it is really easy to mishap with them, this formation pretty much eliminates the risk of Deep Strike mishaps.
- Tomb Nexus: This rule allows you to select a unit that is still in reserves/ongoing reserves and have them disembark from a Monolith’s eternity gate right after it Deep Strikes. This is fantastic, not only does the Monolith not scatter but, you get to port in any Infantry or Jump Infantry unit you have in reserve. Seriously awesome.
The benefits of these rules are three fold: Alpha Strike Protection, Precision Strike, and Late Game Presence.
- Alpha Strike Protection: Alpha Strikes are always a bummer… before you even have a chance to act, down rains the Drop Pods and you can say “good-bye” to your most powerful units. This formation allows you to place the majority of your army in reserve, especially the infantry models, protecting them from a devastating Alpha Strike. Usually, you wouldn’t want to keep all of those units off of the table, they’re slow, they usually walk on from the table edge, etc… This formation lets you do that with a reliable way to get your forces from reserve and into the fight. If your opponent has very little to shoot at in their first turn, depending on the kind of army they are playing, they have effectively wasted one of their game turns.
- Precision Strike: Because of the combination of the Precision Arrival and Tomb Nexus special rules, you are now able to deposit you’re slower moving units (Immortals, Warriors, etc…) across the table with ease. The Eternity Gates, on the Monoliths, give you the ability to taxi crucial reinforcements from reserve and port them around the table when you need to. This is really important when it comes to playing maelstrom games; because the objectives constantly change, it is important to have a flexible and mobile army. The Obelisk is a Super-heavy Vehicle, so it can already move 12″ unhindered or Thunderblitz its way around the table (which is awesome, do it more, trust me); the Monoliths are much slower, but they can deposit reserves where you need then, block sight lines, and (in general) be very annoying to your opponent. The combination of an Obelisk and two Monoliths create a very frustrating dilemma for your opponent to solve.
- Late Game Presence: There are few vehicles in the game that have an armor value of 14 on all sides, it just so happens that both the Monolith AND the Obelisk are on that list. This can be REALLY hard for your opponent to deal with, especially if they come to the table unprepared to destroy more than one thing with an armor value that high. Additionally, because most of your army is being held in reserve, they enter the battle field as fresh squads, ready for fighting, on a later turn. They have been protected for at least a few turns of the game by now and are ready to win the game for you in the last few turns. By the end of the game, usually, both players have very little left… but… if your units have been safely stored in reserve and then tactfully deployed through the Eternity Gates, the chances of your opponent having the capabilities to deal with them, at that point, is very slim. The Living Tomb formation will make you the king of the long game.
Tomb to Improve
There is one really big draw back to this formation… cost. There is nothing you can do to escape the high cost of using this formation; 300pts for an Obelisk and then 200pts for each Monolith. Most players will look at this and say “700 points?! Are you on drugs?! Be honest, we can get you help! We’re more disappointed than angry”, this can be a big investment and it will take some finesse to get it working well in your average list. I would suggest using it at a higher point scale (1750-2000), its there that you’ll find you actually have enough other units to have your army work well on the battlefield. If you’re going to take the formation in smaller games, I would always suggest taking it for just the Obelisk, you lose out on the Tomb Nexus special rule, but it still automatically Deep Strikes on turn two. (Which is gnarly) Because these three models are so expensive, you also have to be a little more conservative with your models, try not to sacrifice them needlessly, you have less models on the table than normal and it will hurt when they start to die.
Tomb Raiders!
My final thoughts on this formation are primarily awesome. I believe many players overlook the power of this formation because of its cost, but once you get over its overall price, you can really get the Living Tomb to do some serious work for you. The advice I have for players that have a bunch of Monoliths sitting on their shelf, because they have been running the Canoptek Harvest over and over again, is: “Give the Living Tomb a try! With some practice, the Monoliths will soon be the scourge of the table top, yet again! The Living Tomb could very well surprise you (and your opponent).”
Scuba Steve, Signing Out.
[yop_poll id=”33″]