
Hello everyone, James here doing a write up on a formation near and dear to my heart. I hope you enjoy my take on the situationally powerful Deathbringer Flight.
It may be one of the most uncommon Necron Formations but that doesn’t keep it from having it’s place in competitive play. The funny part is, it actually helps allies more than it does its parent codex. Let’s put this formation under the microscope! Be sure to check out the Tactics Corner for more great Necron Codex articles and more about 40k to bring your generalship up to the next level.
Overview:
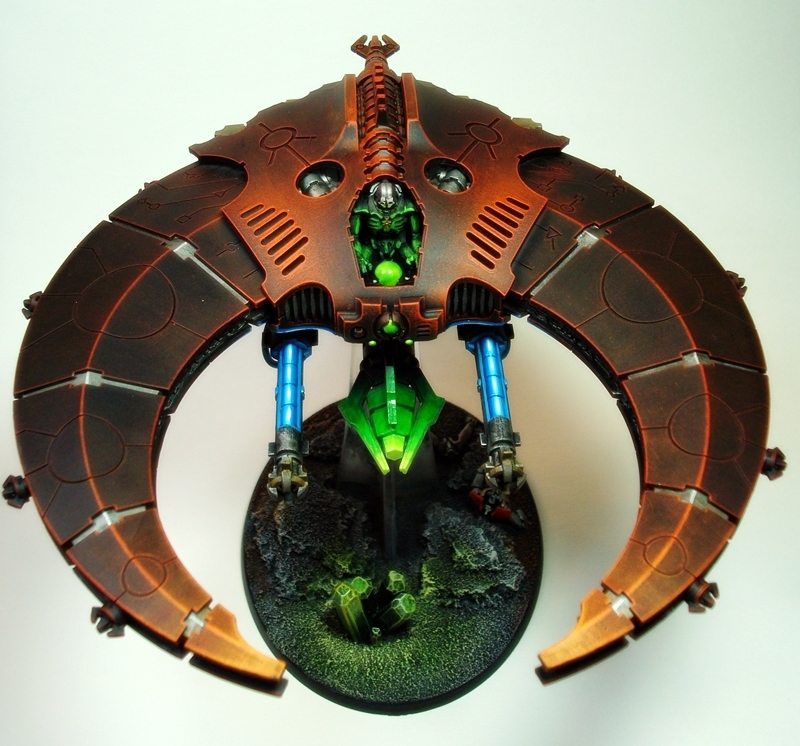
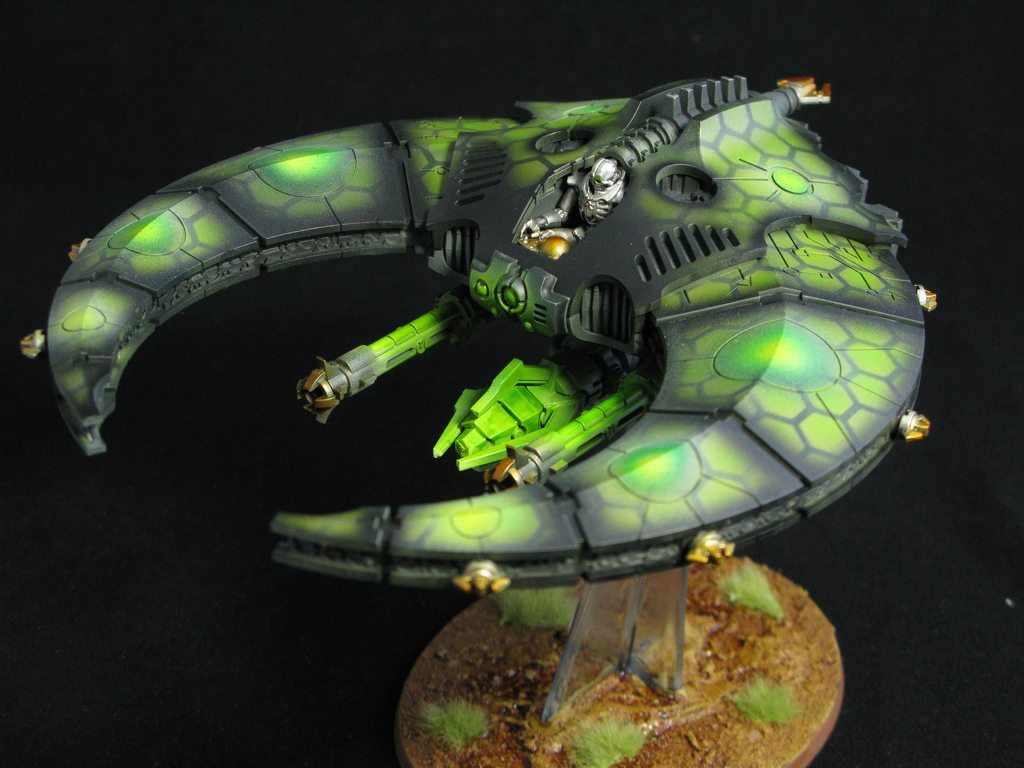
This Formation consists of 2-4 Doom Scythes and nothing else. This makes taking the Deathbringer Flight relatively points efficient since there aren’t other “tax” units or upgrades. The formation benefits are middling at best and are as follows: If a Doom Scythe fires it’s Death Ray at an enemy unit, all other Doom Scythes firing at the same enemy unit get +2 Ballisitic Skill. Also, if an enemy unit is within 12″ of two Doom Sycthes take -1 Leadership penalty. This is also an Auxiliary formation in the Decurion Detachment.
Wargear:
Doom Scythes in this Formation come as is (they can’t take upgrades anyways). Sporting a Death Ray and Twin-linked Tesla Destructor, this flyer means business no matter the target. I know that a lot of players are disenfranchised with the changes to the Death Ray from last edition. But let’s be real, the pseudo-beam Strength 10 AP 1 iteration was a little over the top and caused lots of arguments over eligible targets and shooting through combat. Either way, the new small blast Strength 10 AP1 shot is still pretty wicked. The Twin-linked Tesla Destructor is boss even with the Tesla special rule being toned down as well.
Special Rules:
As with all Necron vehicles, the Doom Scythe gets the Living Metal Special Rule which makes the vehicle ignore Crew Shaken results, pretty handy. They also come with the Supersonic USR…..situationally useful…if you even remember to use it!
Tactics:
Down to brass tacks then. In my humble opinion, the best use for the offensive capabilities of this Formation is busting armor and erasing high priority ground targets with the Death Ray. However, Necron armies already tend to be spoiled for options when it comes to trashing armored targets. So it has a hard time competing for space in a list when players are more inclined to take Gauss heavy armies for armor and Wraiths for tough targets that need to be bullied. The Deathbringer Flight ends up assed out for the most part when compared to other options in the Necron Codex. But just for giggles lets take a look at what it can do in a bubble.
This formation loves to pick apart the very popular Battle Companies. The Rhino Spam lists that are really prevalent these days rely on being mobile to score progressivley through the game. But when these bad boys come in from reserve they can make a parking lot out of out of a Battle Company lickity split. The dirty part is that if youre positioned correctly, your opponent is going to be taking his squad’s pinning checks at -1 Leadership when you destroy his transports.
Against Knights you can fly in from two different vectors so that his Ion Shield only gets saves against one Scythe. Strength 10 AP 1 lance is guaranteed to do work. Roll hot on the Tesla Destructor and watch 2-3 HP get plinked off in a hurry; netting you an extra point towards maelstrom if you play ITC.
I personally use this formation in my ITC list with a decent amount of success. I take it alongside my KDK CAD that features two Heldrakes. The Heldrakes make friends with the Doom Scythes and pair up. My reserves are manipulated by a comms relay to more reliably bring them in together (although depending on your alliance levels, the Comms Relay may only work for the detachment it is in). The Doom Scythes end up being the multi tool I need for dealing with transport heavy armies. The Scythes crack open the metal bawkses and the Heldrakes come in and clean up jerks in Power Armor. If I can, I’ll position to hit another vector in the next round to try to get in another round of shooting before having to leave combat airspace.
The formation also doubles as my biggest source of AA. While certainly not the most potent form of AA in the meta, they actually perform pretty well. The twin-linked Tesla Destructor is usually scary enough to at least get my opponents to jink their scarier flying threats. This flexibility is a real strength of the formation as it allows you to use them vs. any enemy and be able to contribute!
The last piece of synergy that the Formation provides me is the leadership debuff. My army loves being in combat. That little -1 Ld might seem negligible but when my opponent takes his Leadership test at the end of a combat, it can mean me running multiple units down.
I can definitely see the strength of this Formation lending itself to an army that needs a flyer presence or mobile high strength dakka. Also, the Strength 10 AP1 blast with Lance is a cool way to ace heavily armored targets like those pesky Sicarans, Leman Russes, or even Ghost Arks. When it comes right down to it the Doombringer Flight may not be for everyone. But that’s definitely not to say that it cant be used to a good degree of success. It takes practice and a little finesse lining up your shots for later turns. But with a good turn of shooting you can really put the hurt on some of your opponents high profile targets. I hope you’ve all enjoyed the article and hope to see people put this Formation to good use.
[yop_poll id=”16″]