Hey there guys and gals, Reecius has been kind enough to ask me to write an article on my experiences with a knight army so, here it is:). Be sure to check out the Tactics Corner for more great articles.
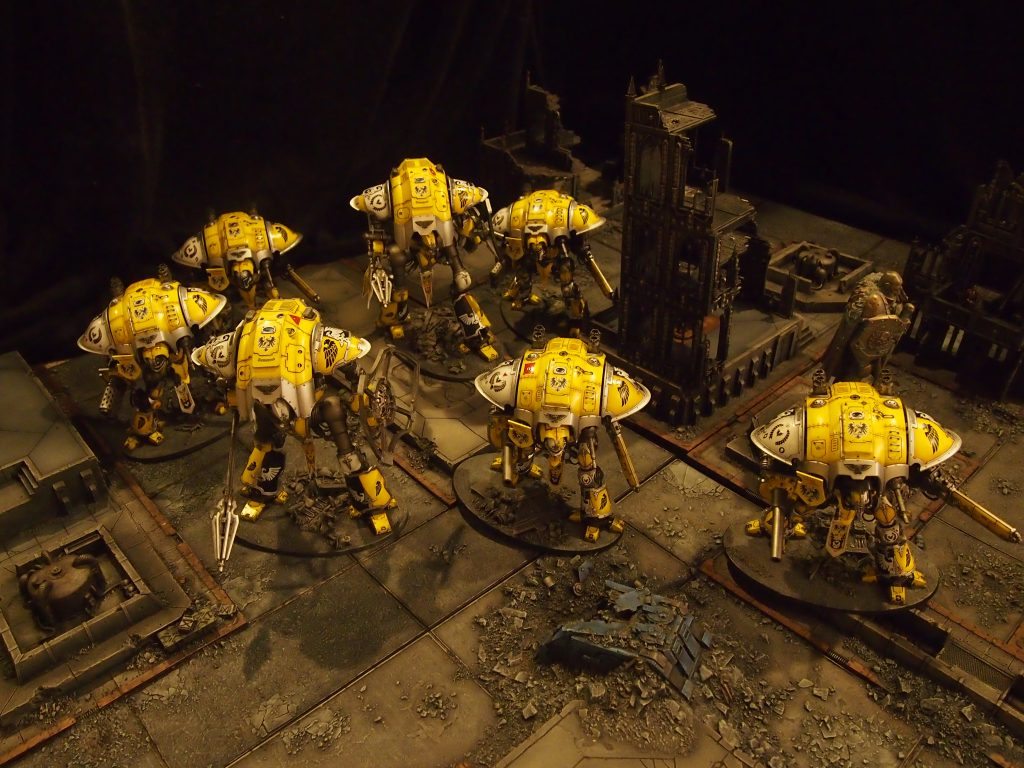
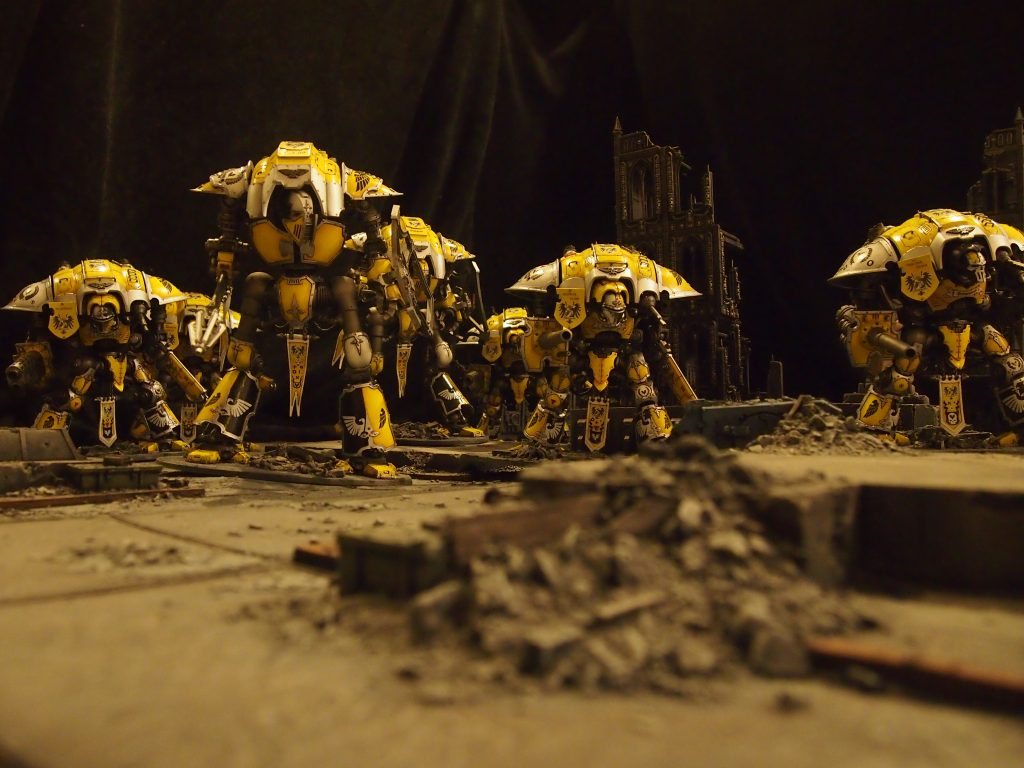
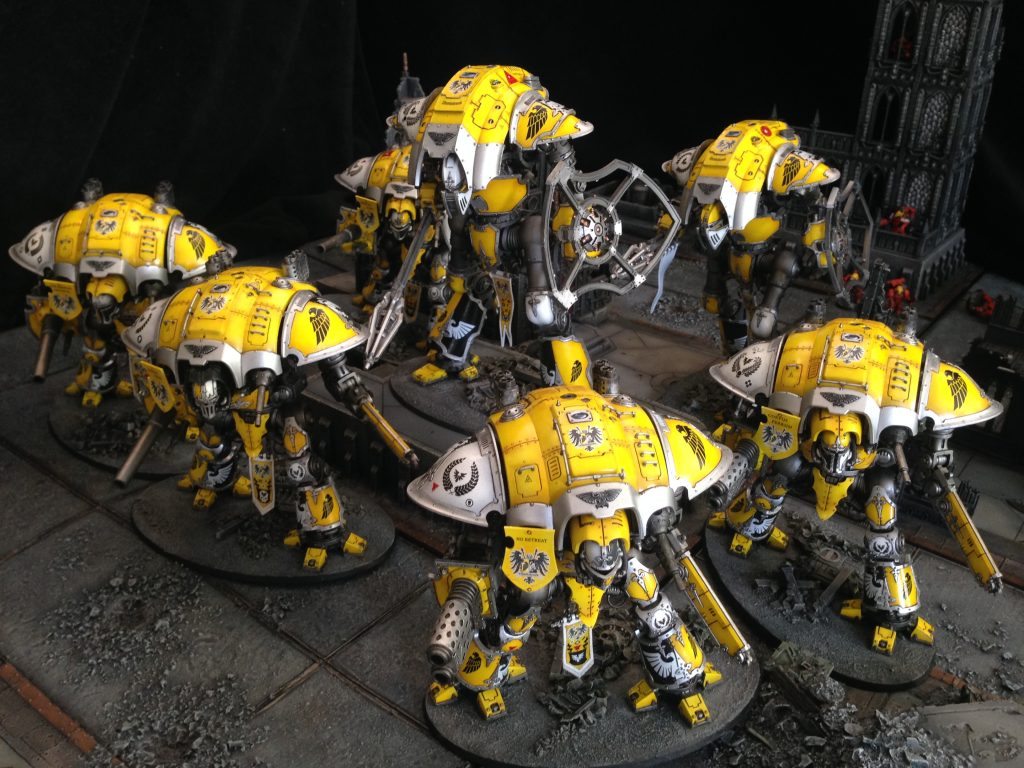
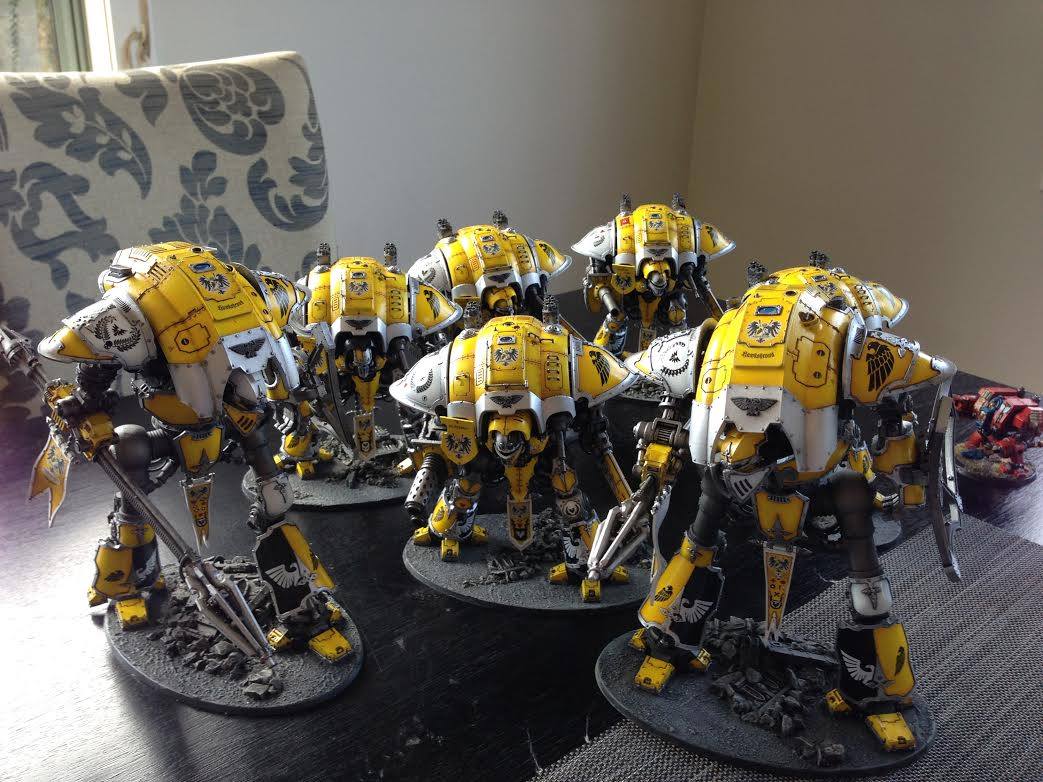
My blindingly yellow Knights started out as a joke. I’d been nagged by a good friend of mine to start a second army [I’ve run only BA since second ed] and I’d held out for years, but then….cue trumpets and angels….that wonderful 2 model codex came out and bam! complete army with all the options in 5 models. What’s even better is that it’s impossible to not play a fluffy list with all knights but sadly I never won a best army composition in any tourney I played ;).
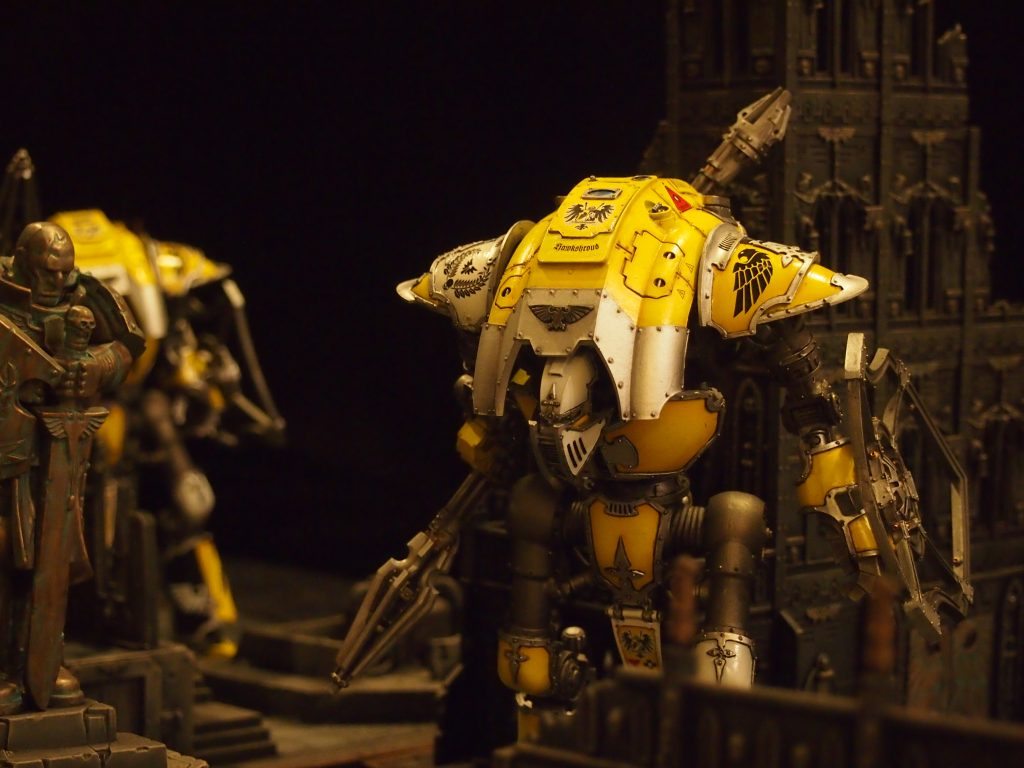
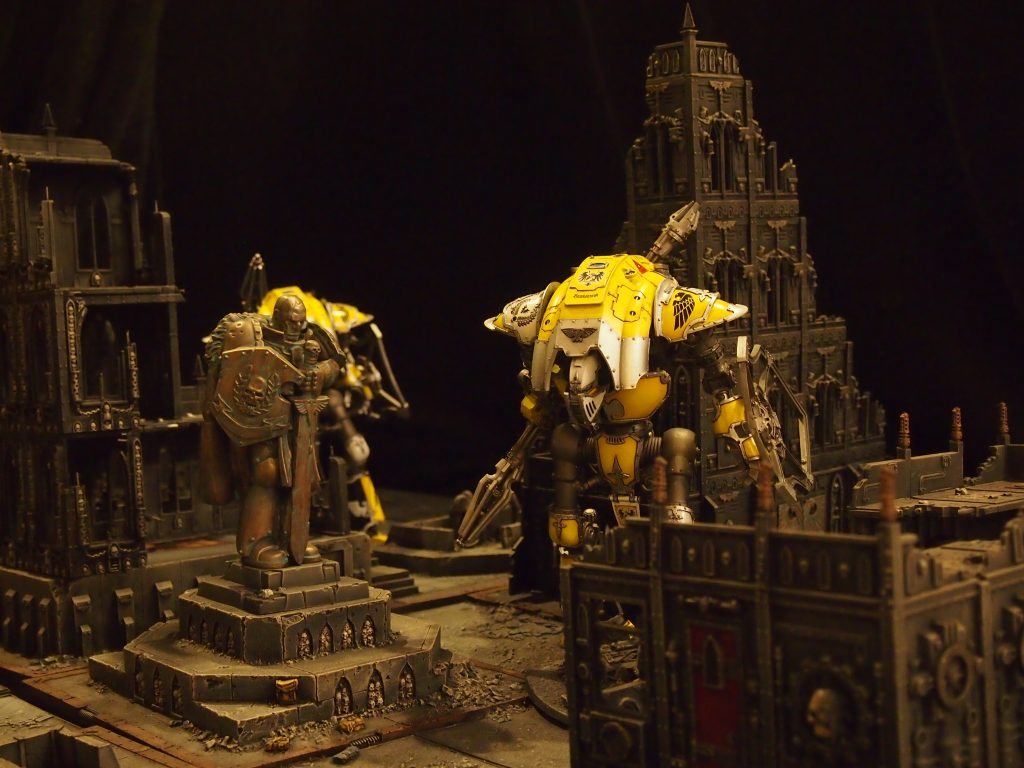
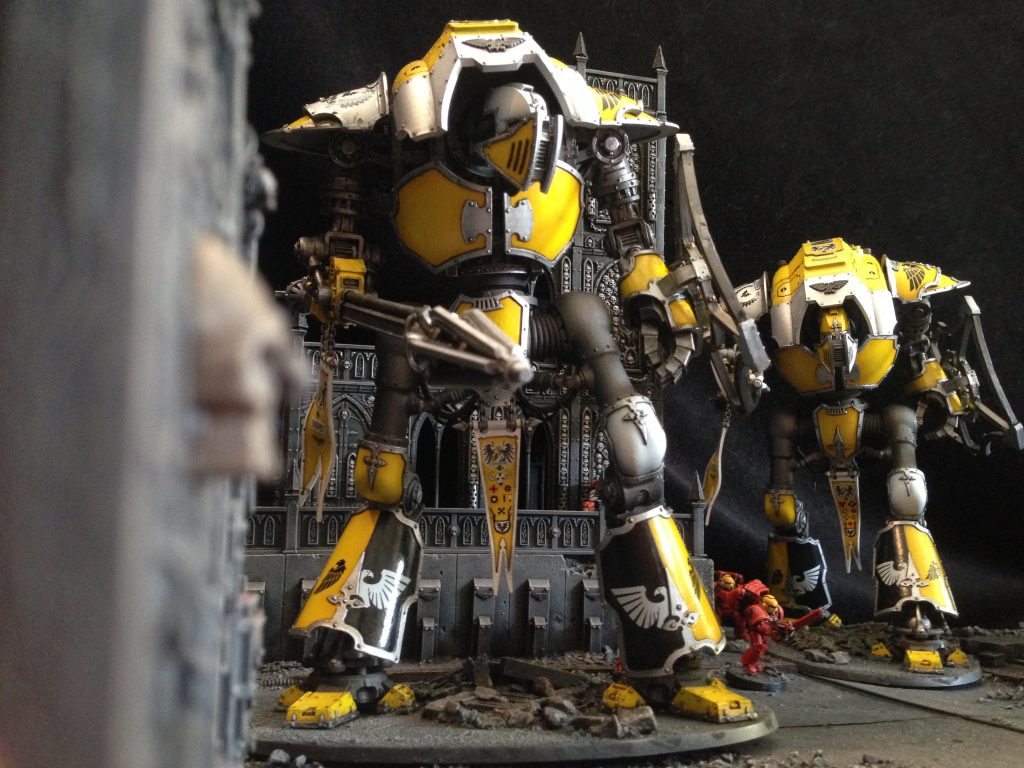
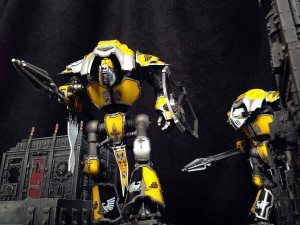
These are the first models I’ve used an airbrush on and gosh, was it a time saver. Having experienced the torment of getting a nice yellow just on assault marine heads and hand painting three storm ravens I was never going to attempt it without one. The part that took the longest was all the silver trim and the two thousand rivets or more, the larger the surface area the more layers needed to get a non blotchy finish and there are some large open spaces on that model, yikes.
I decided to take all 5 to a few local tourney’s to see how they ran, and figured even if it took someone by surprise and they got stomped, just playing against a well painted unique army that people have wanted to see since the early nineties should make for a good experience. In 36 games no one has rage quit, stomped off or gotten smarmy, which was great.
I took 5 because it was fluffy and unique but I was under no illusions that it was the best way to run them. It was the best way to really learn all of the pitfalls of running them, however, and here are a few things I picked up along the way.
- Don’t just stomp them up the middle of the board. It sure looks intimidating but the moment your opponent realises it’s now really easy to shoot you in the flanks you will start to lose a lot of knights.
- Close combat is the most dangerous place for them to be. This is true for knights and for the opponent. The carnage a knight can do in combat is epic but it can leave them exposed to shooting from multiple angles if they win combat off the charge. One nasty tactic to get around winning combat by too much is to just not stomp the unit you are attacking, you can place that template anywhere and it sure doesn’t have to be on the unit you are fighting:). Also they don’t get a save in combat and being charged by fire warriors with emp grenades, wyches, veterans with melta bombs, wraith knights , carnifexs etc is scary and can easily end in an explodey mess.
- The buggers can die in 2 hits! 2 explodes results will kill a knight on average[2d3+2] So be aware that you may lose one when you least expect it and try to backup your knights going for objectives or covering areas of the board with their threat range.
- Imperial knights wish they were as good as wraith knights. they’ve got strength ten instant death good range guns… that they can fire on overwatch or at fliers[skyfire nexus objectives are a hilarious bonus], never get slowed, can jump over units or on top of buildings or ruins. They can one shot monstrous creatures or toughness 5 guys at range. They can’t be two shotted, don’t really care about melta and poison is usually 4+ vs haywire’s 2+. They also strike at initiative 5 which has a lost me a couple of Imperial knights charging in at full hull points before they got to swing. With a toe in a ruin the get a 4+ cover save and for the price of 2 Ik’s you can get 3 Wk’s. Man…Eldar are good;)
- That dying blast +will+ scatter onto one of your other knights and 6 them off the board:)
- There is no easy way to deal with a heavy drop pod assault list. With the shields only on one facing it’s easy to have guns from the same unit on multiple facings or worse, squads having a choice of knights, effectively negating the shield. The only two options are bunch in a corner to protect your warlord[there are good and bad ways of doing this:P] or spread out so you only lose one, don’t get hemmed in by the pods and units and don’t quite possible get hit by that scattering death blast. Terrain and amount of pods will of course temper your choices, but it’s never easy.
- The difference between av13 with a 4+ and av12 with nothing, is quite spectacular. Make sure you can get as much of your front arc at the enemy as possible, if that means clinging to the table edges so be it. the longer you have knights alive and threatening the better. The threat zone of a knight is one of their best assets and can be a lot more effective than a single close range melta blast.
- Don’t be afraid of just trying to wipe an opponent. Sometimes the low model count means you just can’t get to enough objectives and a flighty army can outscore you during the game[talking maelstrom type missions here]. If you keep trying to play their game you will definitely lose, but you might just pull out a win if you try and kill them all[cause 25% casualties moral checks etc]. Not easy, but sometimes it’s the only viable choice.
I really loved playing the 5 knights for a while, it’s quite a change of pace from pretty much any other army out there. There are subtleties to using the list but having them as or with allies is definitely the better way to run them.
The future of this army?
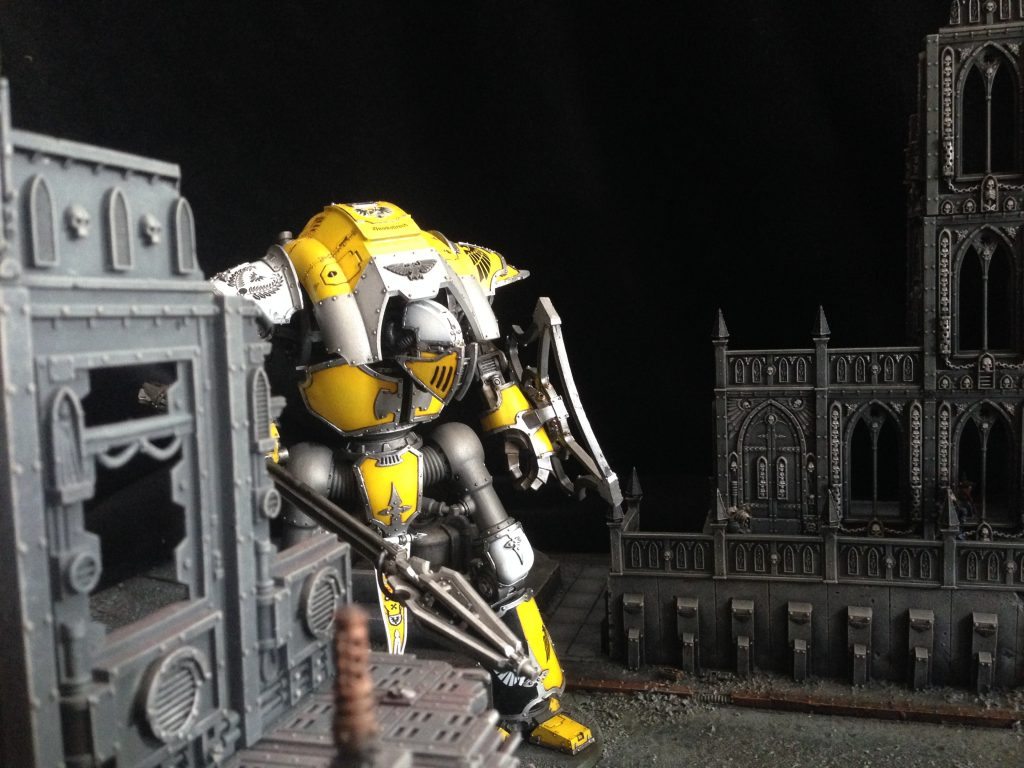
Well, I can’t wait to get a bunch of games in with my Cerastus Lancers. Their speed up the table, save in combat and multiple ways to deal with i4 or higher opponents will be great to experiment with. I’m also going to grab 2 Castigators 2 Archerons and one Magaera which should all be completed by the end of January. The completionist bent that was part of the reason I started collecting them has not been kind on the wallet, but it has lead to me to collecting a unique and imposing looking army while finally getting me to learn how to use an airbrush;)
now, how am I going to get them all to the LVO…..