
Guest hobby tutorial by Shane Irons.

The look and feel of the Necron army is what ultimately got me interested enough to purchase my first 40K army. I still remain a big fan of the warrior model, glowing green rods and all, yet nothing says Necron like green glowing crystals. I scoured the internet looking for crystals that I could purchase and simply add to my bases; however the price or scale always seemed just a little off for what I wanted. Luckily Necron crystals ended up being the cheapest and easiest thing I have ever converted.
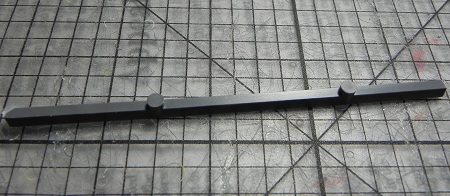
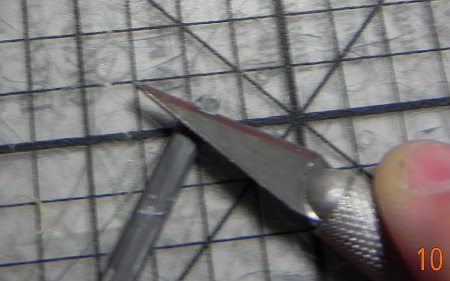
To make your own Necron crystals you will need two things. An hobby knife and some left over sprues. While any sprue will technically work, you should keep two things in mind. First the more square the sprue the better the crystal will look. Second the less plastic branches on this sprue, the less prep work that will be needed. The picture above is a piece I removed off from the current Necron warrior sprue (at least it is at the time I am writing this article). It is the only plain, straight piece on the entire sprue and measures a little longer than 4 inches. Two of these sprues was enough for me to complete ten scarab bases with an average of two or three crystals per base.
Do not replace the hobby knife blade before you start. This conversion is easier and a little safer if the blade is not extremely sharp.
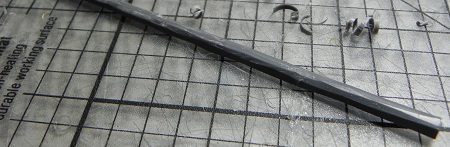
The first step in the process is to clean up the sprue. Start by using clippers to remove large pieces, then the hobby knife to scrape it as close to square as possible. Pay extra attention to any text on the sprue or it will be visible on the finished crystal.
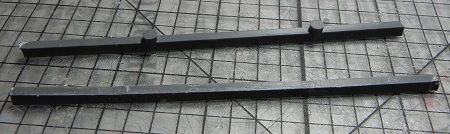
Next you are going to scrape away all four square corners so that the sprue kind of resembles the shape of a stop sign (Octagon). Note this does not need to be perfect. Most crystals do not grow as if they were pre-cut by a jeweler. To make this easier start halfway down the sprue to start scraping. Once done simply flip the sprue around and scrape the other half of the corner off.
Shape the tip of the first crystal simply by making multiple cuts at odd angles as the sprue is rotated. When cutting the crystal off of the sprue cut at an angle as it will help the crystal look more natural, and it will help to shape the next piece resulting in less waste.
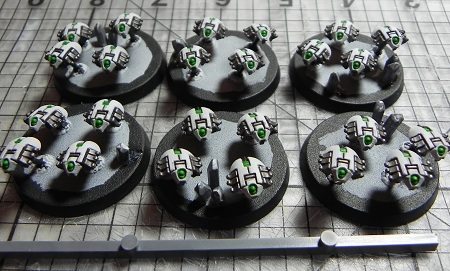
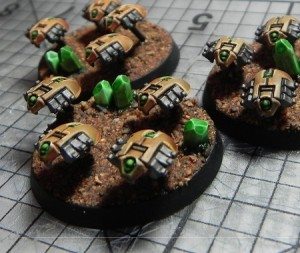
Keep two things in mind before gluing them onto the bases. First they are rather large and tend to get in the way of a paint brush, so paint any hard to reach pieces first. Second glue the crystals on before adding any other basing materials like sand or flocking. It will help to make the crystals look like they are emerging out from beneath the ground. It is important to prime the crystals before painting them, this is where owning a pot of smelly primer comes in handy. In fact, this is the only real use I have found for it to date.

The paint scheme that I used in the picture was white with multiple coats of Thraka Green Wash (Games Workshop brand).