Articulating a Dreadnought
(The Dr.Insanotron way)
Hello everyone Dr.insanotron from Sinister Wargaming here. Recently Reecius asked me if I was will to do a hobby article for Frontline Gaming, since this would be my first online article I jumped at the chance to put something cool out there for the Frontline Community. I settled on this Dreadnought tutorial as my first for attempt, so I hope you enjoy it
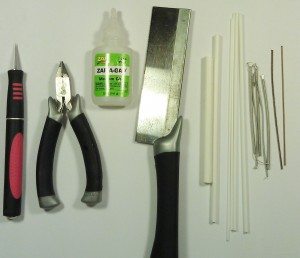
The following is the list of materials I used to create this Dreadnought
- Various sized plastic tube (I used the Gale-force 9 verity pack)
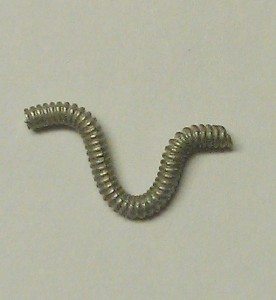
- Various sized guitar string or pewter power cables (I used Blood and skulls industries pewter power cable pack)
- Razor knife, Sprue clippers, Razor saw
- Glue (I use Zipp kicker green label )
- Pin Vice with Bits
- And of course a Dreadnought
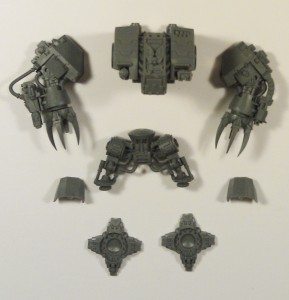
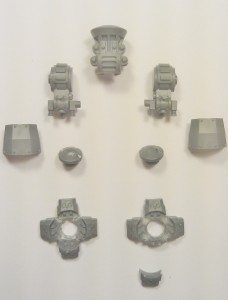
Ok start by assembling the main hull, legs and arms. Do not attach the feet, shin guards. Also do not attach the hull to the legs, or the arms to the hull.
Now carefully remove the hydraulics and power cables from what would be the shin area and the hydraulics and power cables from the hip area. Also remove any toes from the circular foot pad that you will be repositioning.
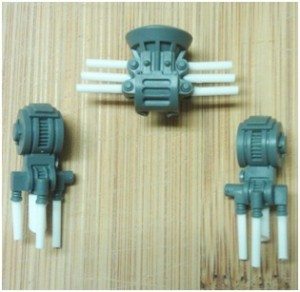
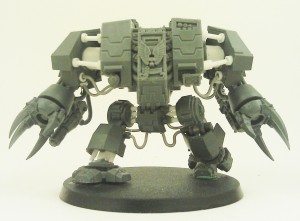
Now that you have removed all the parts that you need to take the plastic tubing that is a similar size to the hydraulics and build them back in. At this point I would cut them a little long so that you can cut them to the exact length when you figure out the final location you want your legs in. Also note that the middle tube of the shin is larger than the outer ones
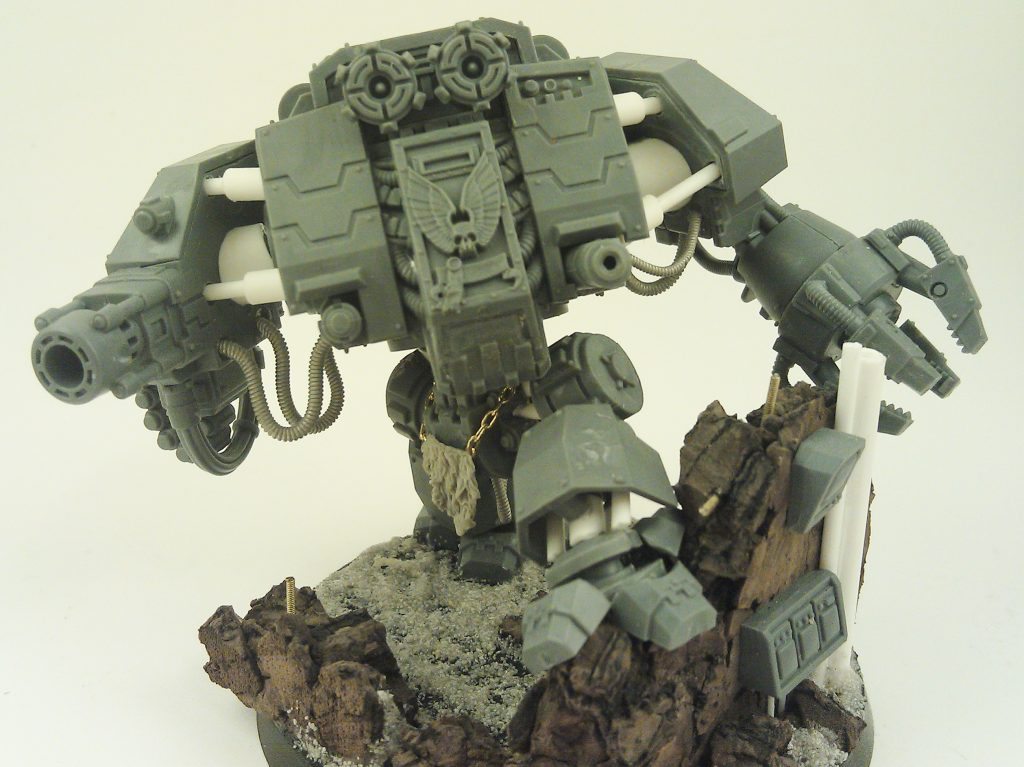
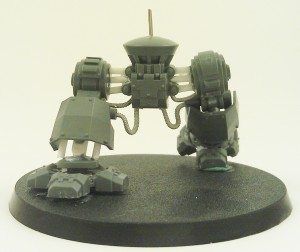
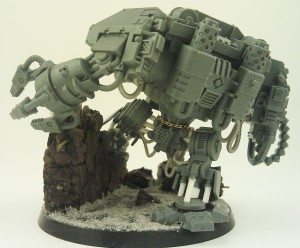
I have decided to make this dreadnought in an aggressive running position, so I cut the leg tubes at almost a 45 degree angle for the feet. I also cut the hip tubes parallel to the hip and glue the two legs at about 45 degrees forward and 45 backward
When attaching the power cables first bend them into a U shape then bend the tips out
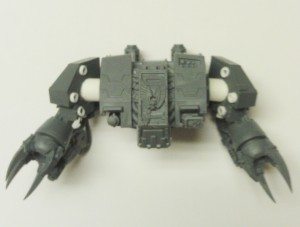
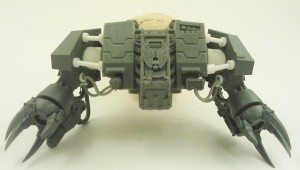
Now it’s time to move on to the arms and main hull. The first thing you need to do is decide where you want everything to be positioned. Start by cutting the larger piece of tubing that will connect the arm to the original mounting point, cut the tube at the desired angle then glue the arm in place.
Now to move on to the pistons, Find two pieces of tubing that one fits inside the other. Then glue the end to the hull. Do not glue the two tubes together, instead allow them to slide freely back and forth this will make it much easier to position them in the end. Now slide the smaller tube into place on the arm and glue in place.
Now is just a matter of putting the whole thing together. There are so many different ways to build this model that you can really let your creativity go wild
I really hope you all enjoyed this article and find it useful. Hopefully it’s a big hit and I get asked to do many more in the future
Dr.Insanotron

Very useful. Thanks, the dread really looks posed. I will try this sometime.
Yeah, I loved this. Definitely want to do it myself.
looks awesome!!
what is the total cost of the materials? it would be great if it were half the price of a GW model (then again, what isn’t cheaper than GW?)
oh nvm missed that you need the dreanought i thought you made it from scratch lol :\