Hola!
Falconator here again from falconatorpainting.blogspot.com and today I am going to show how I do decals. I know this has been all over the internet, but the majority I see say you have to seal your decal with a gloss coat, and that simply is not true. Below are the steps I use to get a “painted on” finish with simple GW decals. It takes no time and can really enhance the look of your miniatures.
I want to preface this with, if you are capable of hand painting icons consistently over a large block of troops then that is still going to give you a more “natural” look than using decals. However, if you are like me and don’t feel comfortable with your ability to pull off consistent results over 30 to 40 models, or just want to be done this century then decals are the next best thing.
HERE WE GO!
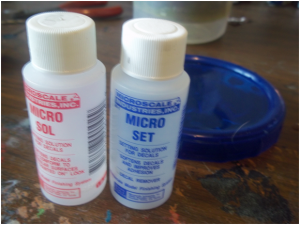
First off a few items I highly recommend. You do not have to have these things but they do make a visible difference in the end. Micro Set and Micro Sol can be found off amazon for about 3 bucks a piece, and there is enough solution in there to last you a long while. I am 3 years into mine and not even close to running out. A shallow dish to put clean water in is also a help but not a necessity.
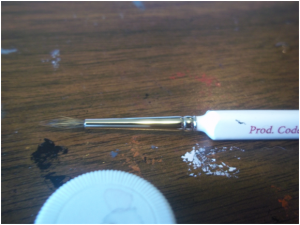
If you have one available find a small flat brush for decal application and the application of micro set / sol. I have an army painter brush I bought to try out and it works perfectly for this. You just want something that will not hold a ton of water. Just enough to nudge the decal but not enough to move it all over the place when you are trying to get the air bubbles out (there will be air bubbles).
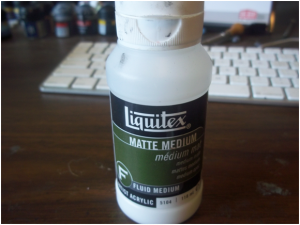
And finally my secret ingredient this stuff has all sorts of uses, I highly suggest getting yourself a bottle its applications are endless (that’s not true, but its worth having). I think it runs about 5 bucks for a bottle but it will last quite a while.
This stuff is the key to blending your decal back into the model. It will take the shine/glare off the decal material, I am sure you could do this with say the purity seal aerosol spray but this way you can control the application.
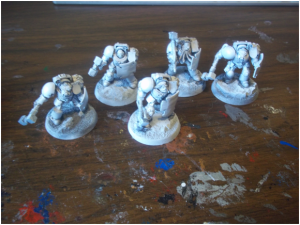
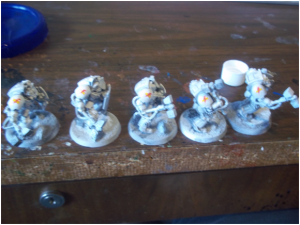
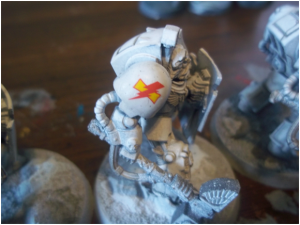
So now with all your plunder gathered let us get into the nitty gritty. If done correctly this will be pretty anti-climatic. We are going to put white scar decals on thunder hammer storm shield terminators.
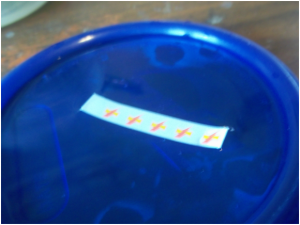
Cut out your decals and plunge them in your shallow water dish (or whatever contraption you have to get the decals wet).
Watch them closely and you should be able to see when the transfers start to loosen up. DO NOT leave them unattended and DO NOT give them too much time. The longer they are wet the more difficult they will be to work with. Left unattended for a few minutes they will be floating around your container and fishing them out is not the easiest thing in the world.
Ok so now as your decals are soaking grab a brush load of micro set and swab it over where the decal is supposed to go. You can be liberal with this, just know that any excess will make it difficult to position your decal, so as a rule of thumb if the micro set is pooling you may want to touch it with a paper towel to remove the excess.
Using your damp brush nudge the decal onto the model and position it where you want it. If you have trouble moving your decal once its on your miniature just drop a bit of water on it and slowly work it around the decal with a brush and you should free it up and be able to move it wherever you like.
After you have your decals positioned dry your brush and carefully push the air bubbles on the decal from the center out to the edges of the decal. You may need to dampen your brush a bit to get the bigger bubbles out. Once you are happy with your result put a bit of micro sol on your brush and brush it lightly over the decal. If the decal is on a completely flat surface you can skip this step. After that is dry I repeat the step with micro set and let the decal dry.
After the decals dry if your decal is still having a bit of trouble adhering drop another dot of micro set on it, if it is not fitting to the contour of the model drop another dot of micro sol. You can repeat this until you are satisfied with the results. Micro sol is great for making the decal conform to irregular shapes, but do not expect miracles it is far from a panacea.
Now for the magic!
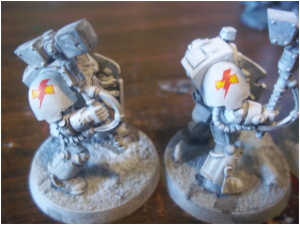
If you move your miniature around in the light at this point you will notice a shine or glare coming off of the decal. The decal should be pretty flush on the model at this point, but it still stands out upon inspection. We are about to cure that. Clean your brush and load it up with some of the matte finish, it should look a milky white. Now slop it all over your decal.
Give it some time to try and voila! That glare is gone and you have a painted on finish for your decal. I highly recommend working some paint in around the edge of the decal if you are g oing to do further work on the area just to help it blend in more seamlessly. But that’s it pretty simple, I hope this is helpful to anyone who has had trouble using decals.
You can catch the future progress on this squad and more at my blog Falconator Painting, on my Facebook Page, or @falconatorpaint on twitter.

